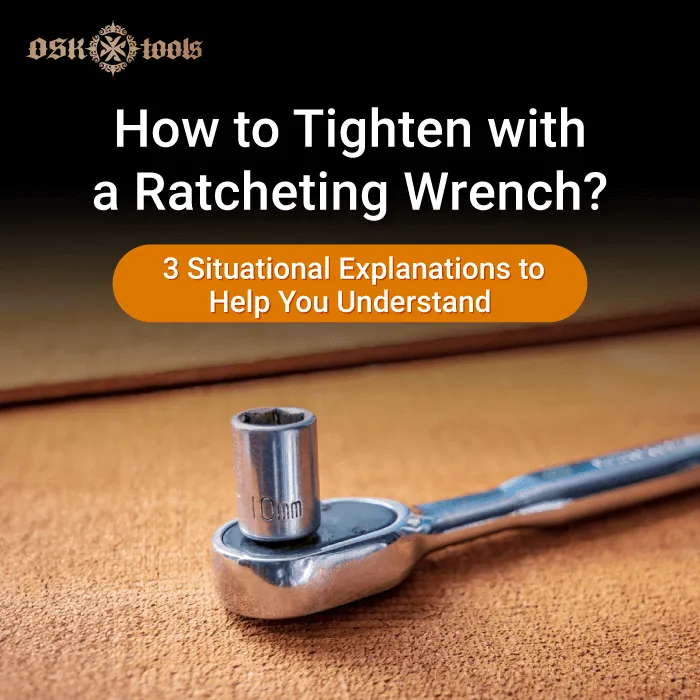


Ratcheting wrenches are indispensable tools in any mechanic’s arsenal, known for their efficiency and ease of use in various mechanical tasks. However, like any tool, they require periodic maintenance to ensure they continue to function effectively. Below, we outline a comprehensive four-step process to help you disassemble your ratcheting wrench effectively.
Table of Contents (Click to read this paragraph)
- How to disassemble a ratcheting wrench? 4 steps to tell you▼
- Recommended Ratchet Wrench Set [OSK Hand Tools] 72-Tooth Ratchet Wrench, Making Repairs Easier▼
How to disassemble a ratcheting wrench? 4 steps to tell you

Disassembling a ratcheting wrench is essential for maintenance and repair. This process involves a few methodical steps to carefully take apart the wrench, inspect its components, and perform necessary cleaning and lubrication. Following these steps will help you effectively maintain your tool and prolong its lifespan. This guide will walk you through the process of inspecting, disassembling, cleaning, and maintaining your ratcheting wrench, ensuring it remains a reliable asset in your toolkit.
1.Inspect ratcheting wrench

Before you begin the disassembly process, it's crucial to thoroughly inspect the ratcheting wrench for any external damage or debris. This step is important because external factors, such as dents or accumulated dirt, can interfere with disassembly or damage the internal components during removal. Carefully examine the wrench's exterior, paying close attention to the areas around the screws or clips that hold the tool together. Ensuring the wrench is in good external condition will help avoid complications during disassembly and provide a smoother process overall.
2.Remove external screws or clips

To disassemble the ratcheting wrench, start by carefully removing the external screws or clips that hold the tool together. Use the appropriate tools, such as a screwdriver or pliers, depending on the type of fasteners present. It's important to proceed with caution during this step to avoid damaging the wrench or losing any small parts. Place the removed screws or clips in a secure container to ensure they are not misplaced, as these components will be needed for reassembly. Proper handling of these fasteners is essential to maintain the integrity of the tool during and after the disassembly process.
Further reading:What is inside a ratcheting wrench? 6 component introduce
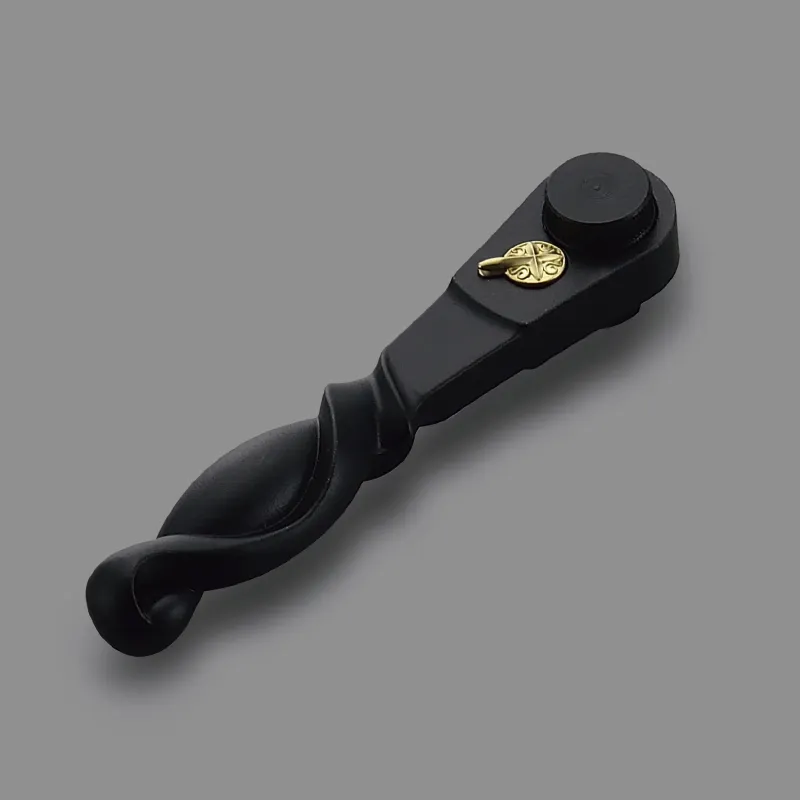
3.Extract the ratcheting mechanism

Once the external screws or clips have been removed, the next step is to carefully extract the ratcheting mechanism from the wrench. Begin by gently separating the tool’s casing or housing to access the internal components. Pay special attention to the pawl and gear components, which are crucial to the wrench's functionality. As you remove these parts, inspect them closely for signs of wear, damage, or debris that could affect performance. Handle all components with care to avoid further damage, and make note of the orientation and positioning of each part to ensure accurate reassembly later.
4.Clean and maintain

The final step in the disassembly process involves cleaning and maintaining the wrench's components. Use a suitable lubricant to clean all parts of the ratcheting mechanism, removing any accumulated dirt or grime. Lubricating the moving parts, especially the gear and pawl, is essential to ensure smooth operation once the wrench is reassembled. After cleaning, inspect the components one last time to confirm that they are in good condition. Once satisfied, reassemble the wrench by carefully placing the components back in their original positions and securing the external screws or clips. With proper cleaning and maintenance, your ratcheting wrench will be ready for many more years of reliable service.
Further reading:How to maintain ratcheting wrench? 3 point you must know
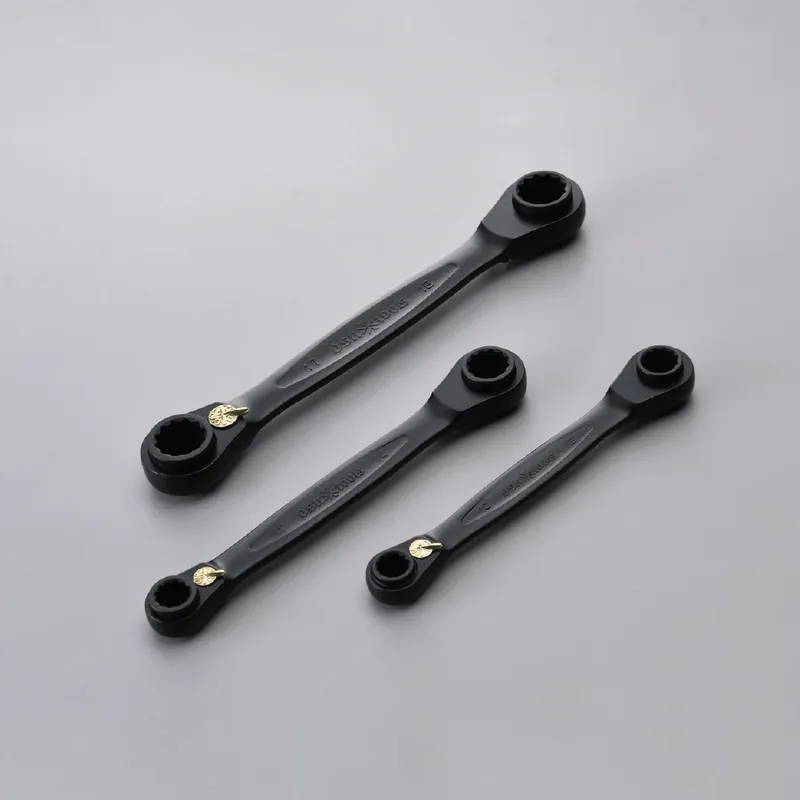
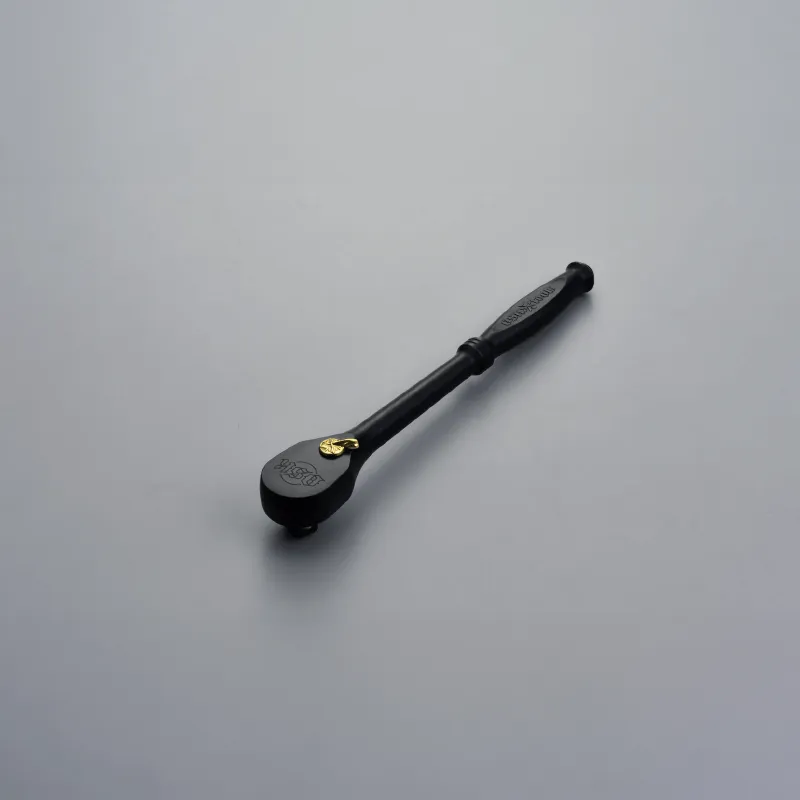
Recommended Ratchet Wrench Set [OSK Hand Tools] 72-Tooth Ratchet Wrench, Making Repairs Easier
This guide on disassembling a ratcheting wrench provides valuable insights into the process of maintaining and servicing this essential tool. By following these steps, you can ensure that your ratcheting wrench remains in optimal working condition and performs efficiently for an extended period. Regular maintenance not only extends the life of the tool but also enhances its performance, making your mechanical tasks easier and more efficient.
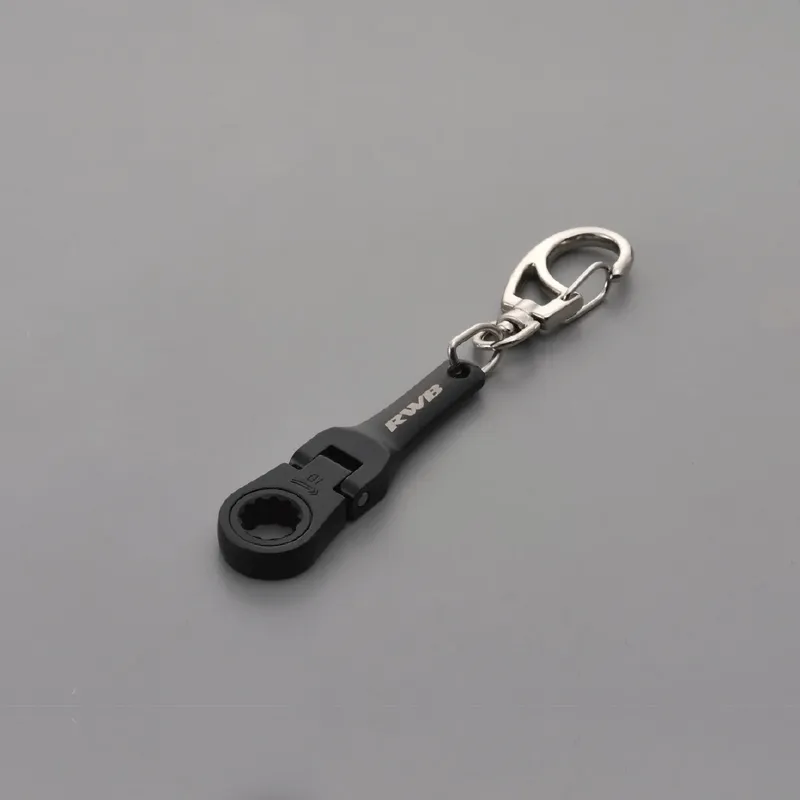
For efficient repairs, consider the 【OSK Hand Tools】 72-Tooth Ratchet Wrench Set. Featuring a 100% pure black chrome coating, this ratchet wrench offers superior slip resistance and durability. It has also passed a rigorous 96-hour salt spray test, ensuring long-lasting performance even in harsh conditions. If you need a wrench, head over to the wrench section and make your purchase now!
Released on 2024-08-30|Last updated on 2024-09-11 | 3982
OSK Tools-Wrench Brand
Phone: +1 949 372 2831(Click to call)
Facebook:OSK Tools(Click to visit)
FB Messenger:OSK Tools(Click to DM)
Service Time: 09:00-18:00 on weekdays